Finishing of bioPLA portals
Assembly
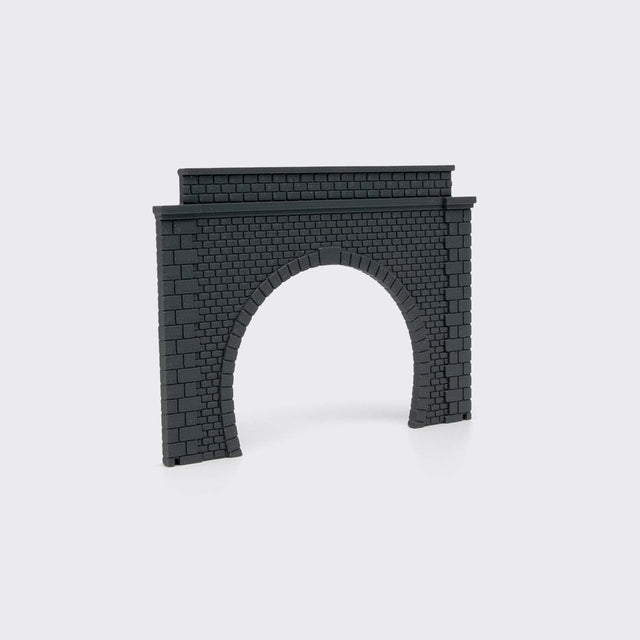
The portal is supplied in a single piece, it does not require assembly. When assembling to other related items, use cyanoacrylate glue for a quick and resistant fixing.
Surface preparation
Remove any surface burrs and lightly sand with 180/240 grit sandpaper and possibly a second pass with a finer grit. With the piece clean and dry, it is recommended to use a spray putty to even out the surface and eliminate print streaks. Make several light, quick passes until you are satisfied with the uniformity of the surface. Be careful not to overdo it so as not to lose the details of the surface texture. Alternatively, you can also use liquid chalk or thick paint applied in several coats.
Painting
Subsequent painting can be done with opaque acrylic colours.
I recommend using at least two basic colors to bring out the three-dimensionality of the surface: one for the bricks/stones and the other to use between the interstices of the same.
There are two techniques that can be used:
1. Apply a first coat of uniform and covering color with the color you want to obtain in the raised parts (bricks or stones). When dry, apply the second very diluted color (the one you want to obtain between the gaps) and dab with a sponge or absorbent paper only on the raised surface to remove excess colour. Give more passes until you are satisfied.
2. Apply a first coat of diluted color (whatever you want to obtain between the gaps).
When dry, apply the second color by dabbing very lightly on the raised surface with a sponge. Give more passes until you are satisfied.
Subsequently, other colors can be given with the dry brush technique or with spotting powders to give the product a more lived-in and less uniform appearance.