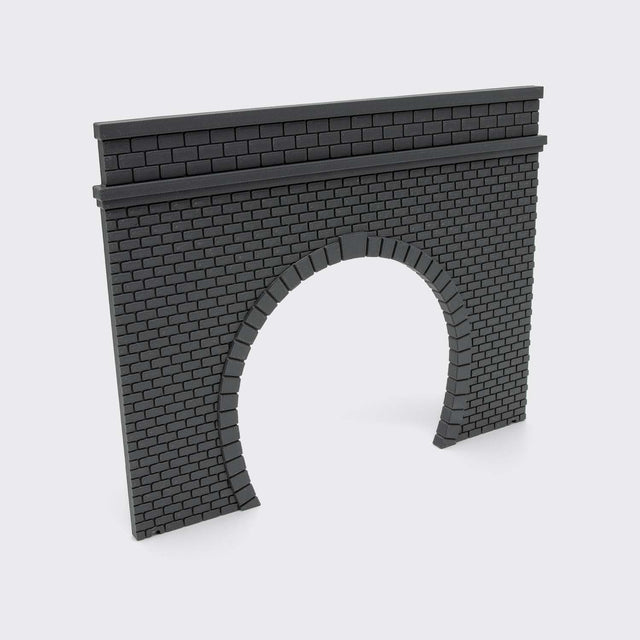

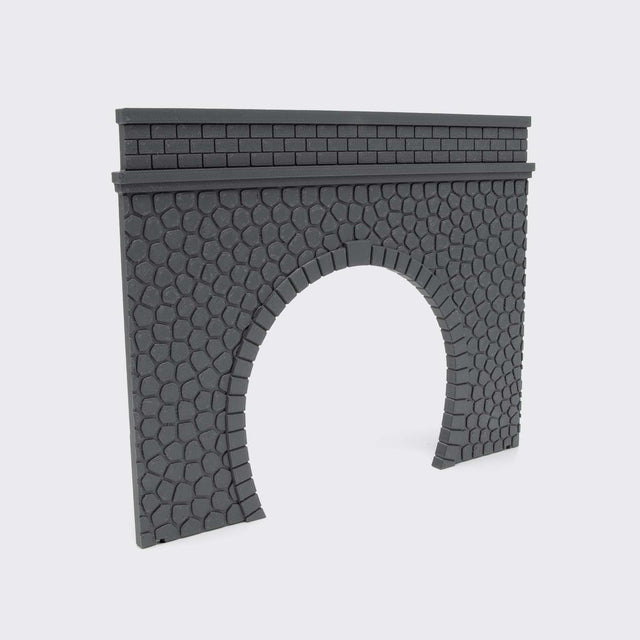
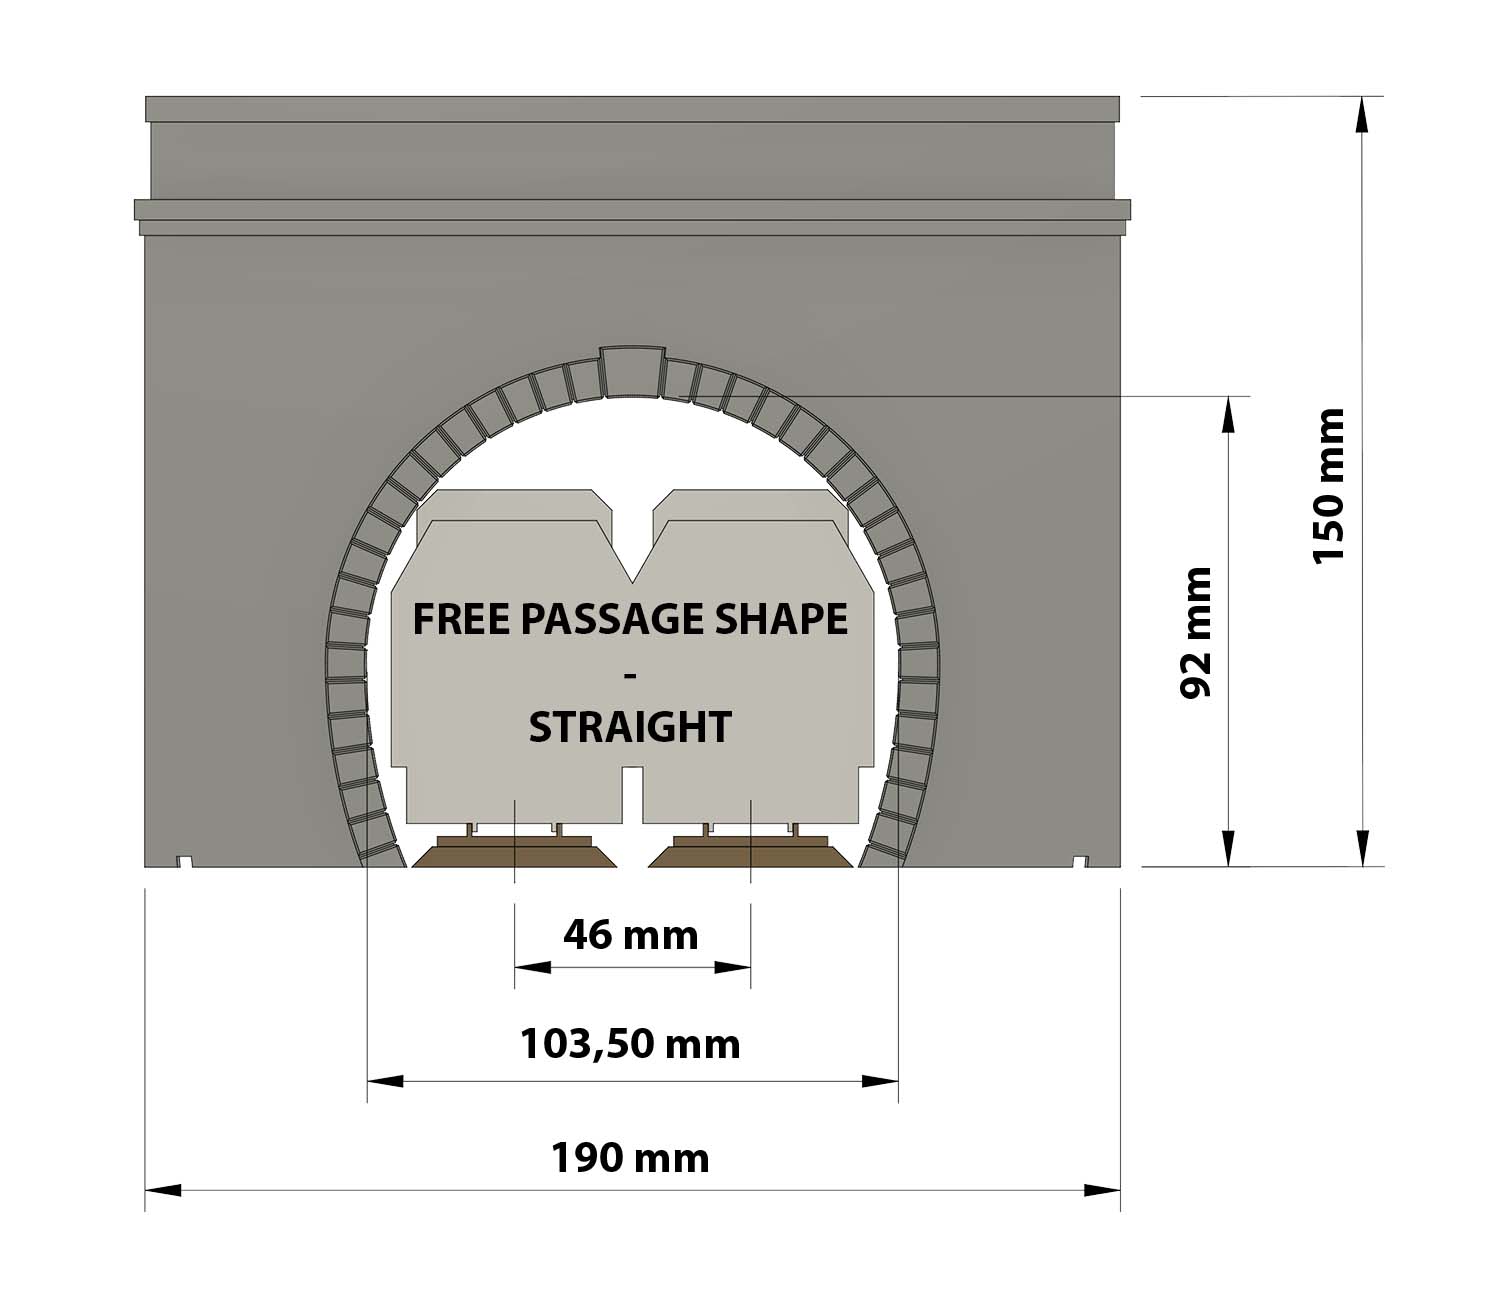
2-track portal - Straight with 46 mm inter-track
Price€12,00
Select Finish
H0 scale reproduction (1:87) of a tunnel portal for double track railway lines with a maximum distance between tracks of 46 mm. Suitable only for straight lines with narrow inter-track thanks to the tunnel entrance reduced in width for greater realism, similar to life. Suitable for both lines with and without catenary.
3D printed with FDM technology in ecological dark gray PLA material, it is supplied to be painted.
Possibility of choosing between a brick or stone cladding.
The product is designed to be combined with the tunnel code 1061.R046 for straights with a 46 mm intertrack and accessories such as stone columns for portals with code 1062 and the side containment walls code 1063.
Finishing of bioPLA portals
Allegati

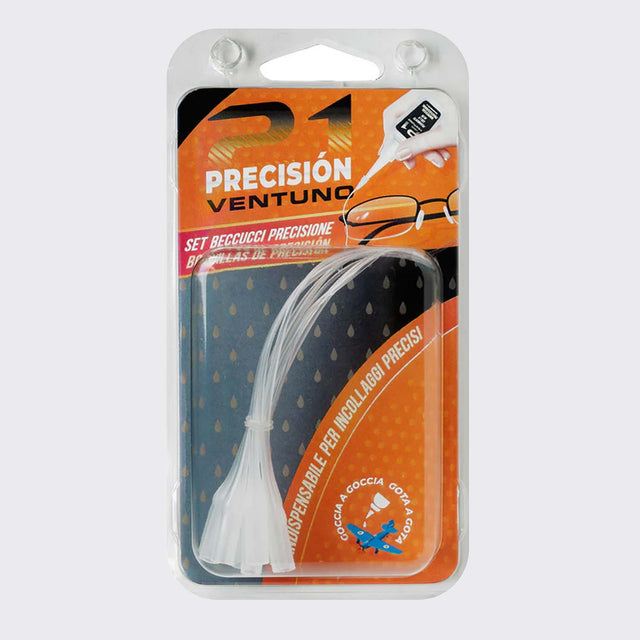
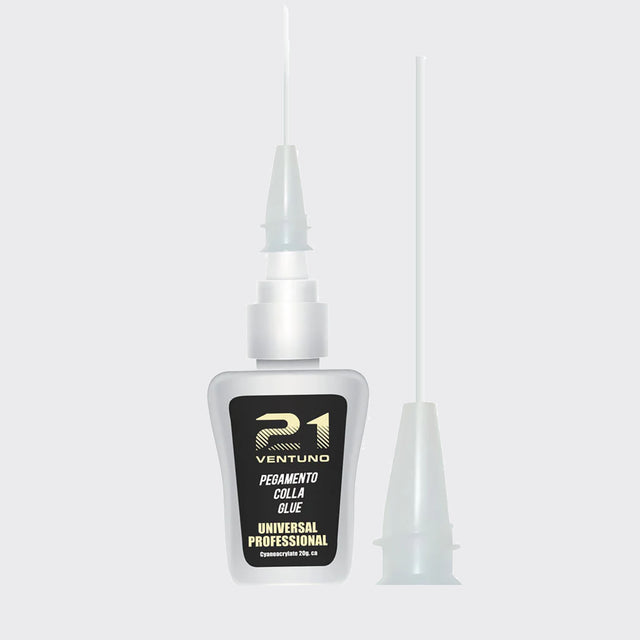
ACCESSORI INDISPENSABILI
PER INCOLLARE I TUOI PRODOTTI

Precision Nozzle Set for Cyanoacrylate - 10 pcs.


Precision Nozzle Set for Cyanoacrylate - 10 pcs.
€2,50